Google Login Form Design using HTML & CSS
I have came across this simple and clean google login form design using HTML & CSS and I thought i would make a quick tutorial on it where you learn how to make a google login form using HTML and CSS.
Also Read this: Glassmorphism Login Form using only HTML & CSS
What You will Learn in this Tutorial
| • Animate Labels of Google form using CSS |
| • How to make input forms like Google Forms. |
| • How to Center element using CSS |
And lot more will cover in this tutorial so read the full article if you face any problem regarding this form tutorial do comment in the comment box will help you.
Let’s start by making two files
- index.html
- style.css
Here I will provide our markup file so that you can easily understand the scenario and fields of markup files. we will make this form in a very easy way to follow this tutorial along with me.
First, of fall, we will create our form using form tag where we will provide our input and labels so that we can animate that labels upward using CSS also there are two files first one is for EMAIL ID where user can add his email and another will be password field where user can add password too.
Lets! go through the code.
The HTML
01 02 03 04 05 06 07 08 09 10 11 12 13 14 15 16 17 18 19 20 21 22 23 24 25 26 27 28 29 30 31 32 | <!DOCTYPE html><html lang="en"><head> <meta charset="UTF-8"> <meta http-equiv="X-UA-Compatible" content="IE=edge"> <meta name="viewport" content="width=device-width, initial-scale=1.0"> <title>Google Form</title> <link rel="stylesheet" href="google.css"></head><body> <div class="box"> <div class="logo"> </div> <h2>Sign In</h2> <p>Use your Google Account</p> <form> <div class="inputBox"> <input type="email" name="email" required onkeyup="this.setAttribute('value', this.value);" value=""> <label>Username</label> </div> <div class="inputBox"> <input type="text" name="text" required onkeyup="this.setAttribute('value', this.value);" value=""> <label>Passward</label> </div> <input type="submit" name="sign-in" value="Sign In"> </form> </div> </body></html> |
We used onkeyup() function of HTML 5 to keep the label of the input field on top when there will be some value’s on the input field otherwise label will animated at its original position.
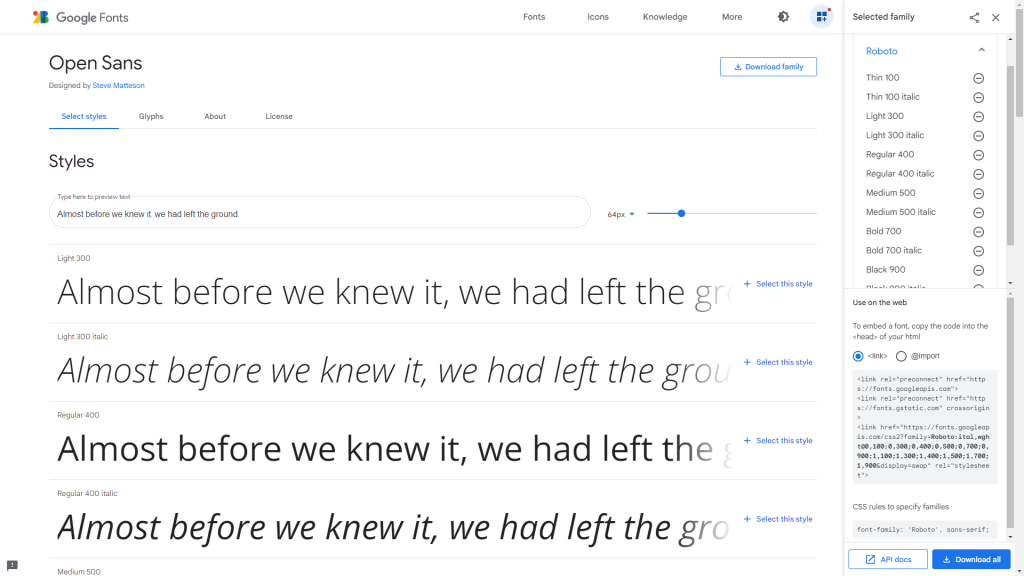
Let’s move into CSS part where all the magic will happen with our google form. As we move into the CSS we will start with google font for making a google form clone.
Go to this Website Link

Finally, Let’s move into the CSS part where we will design this google from scratch.
The CSS
001 002 003 004 005 006 007 008 009 010 011 012 013 014 015 016 017 018 019 020 021 022 023 024 025 026 027 028 029 030 031 032 033 034 035 036 037 038 039 040 041 042 043 044 045 046 047 048 049 050 051 052 053 054 055 056 057 058 059 060 061 062 063 064 065 066 067 068 069 070 071 072 073 074 075 076 077 078 079 080 081 082 083 084 085 086 087 088 089 090 091 092 093 094 095 096 097 098 099 100 101 102 103 104 105 106 107 108 109 110 111 112 | @import url('https://fonts.googleapis.com/css2?family=Open+Sans:ital,wght@0,400;0,500;0,600;0,700;0,800;1,300;1,400;1,500;1,600;1,700;1,800&display=swap');body { margin: 0; padding: 0; background-size: cover; font-family: 'Open Sans', sans-serif;}.box { position: absolute; top: 50%; left: 50%; transform: translate(-50%, -50%); width: 30rem; padding: 3.5rem; box-sizing: border-box; border: 1px solid #dadce0; -webkit-border-radius: 8px; border-radius: 8px; }.box h2 { margin: 0px 0 -0.125rem; padding: 0; text-align: center; color: #202124; font-size: 24px; font-weight: 400;}.box .logo { display: flex; flex-direction: row; justify-content: center; margin-bottom: 16px; }.box p { font-size: 16px; font-weight: 400; letter-spacing: 1px; line-height: 1.5; margin-bottom: 24px; text-align: center;}.box .inputBox { position: relative;}.box .inputBox input { width: 93%; padding: 1.3rem 10px; font-size: 1rem; letter-spacing: 0.062rem; margin-bottom: 1.875rem; border: 1px solid #ccc; background: transparent; border-radius: 4px;}.box .inputBox label { position: absolute; top: 0; left: 10px; padding: 0.625rem 0; font-size: 1rem; color: gray; pointer-events: none; transition: 0.5s;}.box .inputBox input:focus ~ label,.box .inputBox input:valid ~ label,.box .inputBox input:not([value=""]) ~ label { top: -1.125rem; left: 10px; color: #1a73e8; font-size: 0.75rem; background-color: #fff; height: 10px; padding-left: 5px; padding-right: 5px;}.box .inputBox input:focus { outline: none; border: 2px solid #1a73e8;}.box input[type="submit"] { border: none; outline: none; color: #fff; background-color: #1a73e8; padding: 0.625rem 1.25rem; cursor: pointer; border-radius: 0.312rem; font-size: 1rem; float: right; } .box input[type="submit"]:hover { background-color: #287ae6; box-shadow: 0 1px 1px 0 rgba(66,133,244,0.45), 0 1px 3px 1px rgba(66,133,244,0.3); } |
Download Source Code
If you are eager to watch the output of this code and want to change the code you can easily download the source file and make some changes to it. Through this trick, you can make this Google Login Form Design using HTML & CSS so easily without using any other third-party library. Hope you like this article.
Conclusion
I hope you enjoyed this little tutorial. Let me know over on comment and please give me suggestion regarding it which type of content you want. Hope you are comfortable with this tutorial if you kindly comment in the comment box if you are facing any issues with it. Google Login Form Design using HTML & CSS.
Happy Coding! ?
People are also reading:
- Crypto-currency website| Source Code Free Download
- How To Create Sign Up Form In HTML and CSS
- Top Stunning Free Websites to Download Responsive HTML Templates 2021
- JavaScript Clock | CSS Neumorphism Working Analog Clock UI Design
- How to make Interactive Feedback Design Using HTML CSS & JS
- 5 amazing ways to earn Money online as a side option .
- finest alternative of Chinese apps for Android and iOS
- Top Best 5 Fonts Of 2020 Used By Professional Graphic Designers


